Amy's Photography
This will be a diary of all my work that I am producing throughout my AS course
Five photos I like
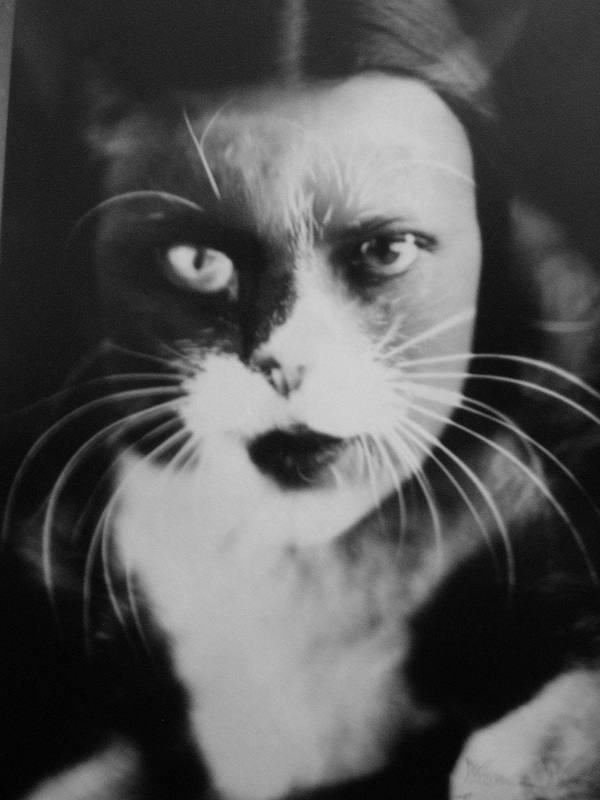
This photo shows a combination of a woman and a cat; This is called a double exposure and you can do it digitally using photoshop. I think that this image shows that animals and human are quite similar. Its quite surreal and dream like, I imagine this would have been fascinating to people during that time period.
By Wanda Wulz 1932
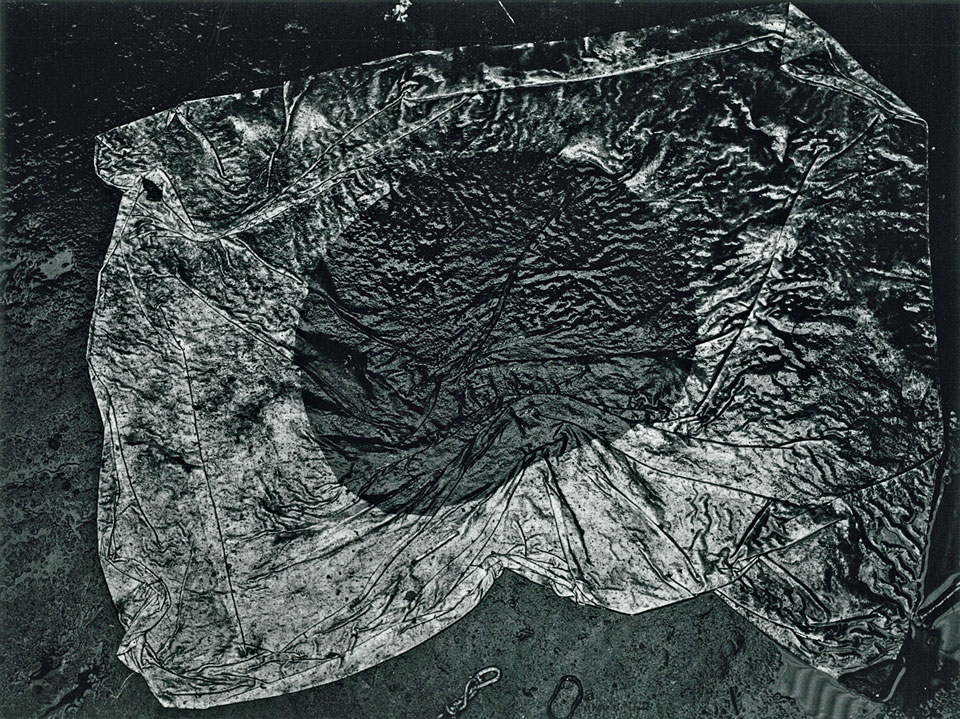
Even though there was a passage in time between when this photo was taken and when the war happened it symbolises how war can have lasting effects after weeks, months even years later. This is a powerful image to me as it signifies how something so important can be forgotten in a small amount of time.
'The Japanese National Flag' by Kawada Kikuji 1963
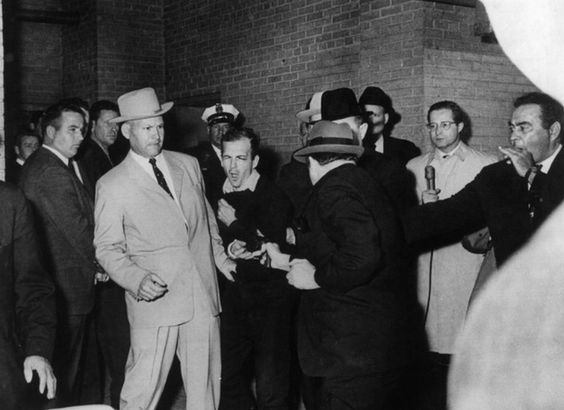
This simple black and white photo captures such and important event in America 1963. Looking at different people in the photograph you can see all the reactions during the assassination of Lee Harvey Oswald. My interpretation of how this photo was taken is the photographer is a reporter just trying to get a shot of the famous criminal but accidentally caught on film the pinnacle assassination of Lee Harvey Oswald.
'The murder of Lee Harvey Oswald' by Robert Jackson 1963

This was the only surviving colour photo of the first atomic explosion; the other photo's came out in black and white due to the intensity of light would blister and solarize the film. I like this photo one because it captures a signifcant moment in history and it was just by chance that it was able to be in colour.
'The First Atomic Bomb' 1945 By Jack Aeby
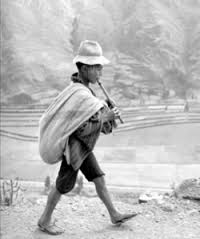
This picture is quite a simple image of a boy walking down a hill but if you look deeper you start to question where is he going? whats in his bag? and how he came to be like this. His work mainly portray the cultural life of traditional communities and the people in them.
'Andean Boy, Cuzco' 1954 By Werner Bischof
|

|
|
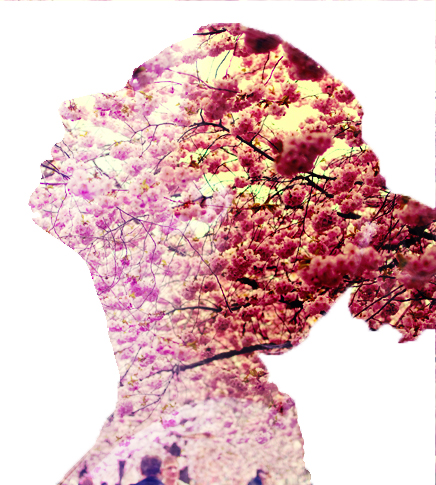
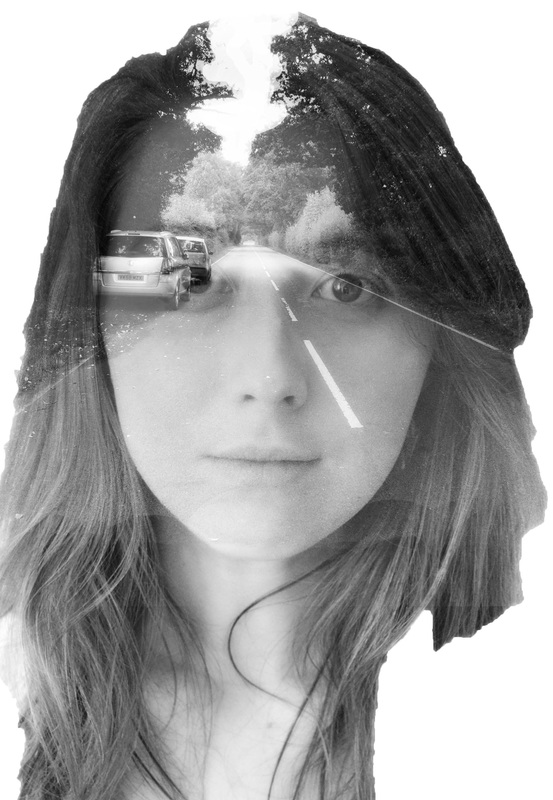
For these photos I first took a self portrait using the timer on the camera. I then put the main portrait in photoshop; using two images from the internet ( the 3rd picture of the road I took myself) I then blended the two pictures together with a double exposure and magic wand.
Lumin Printing
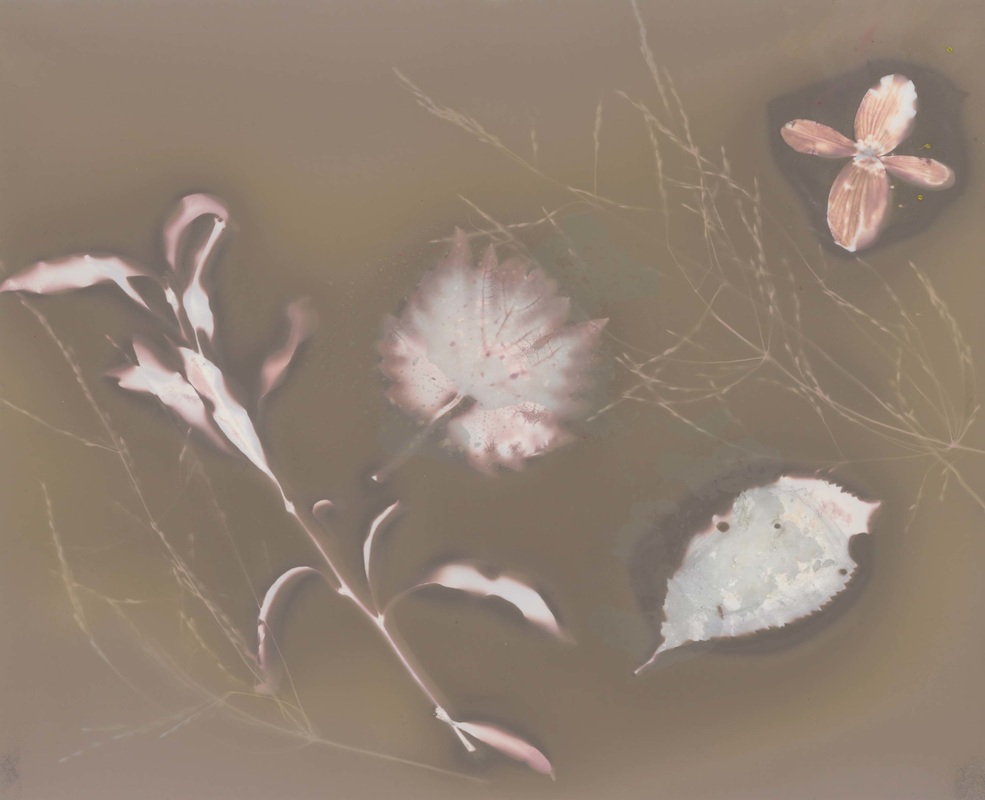
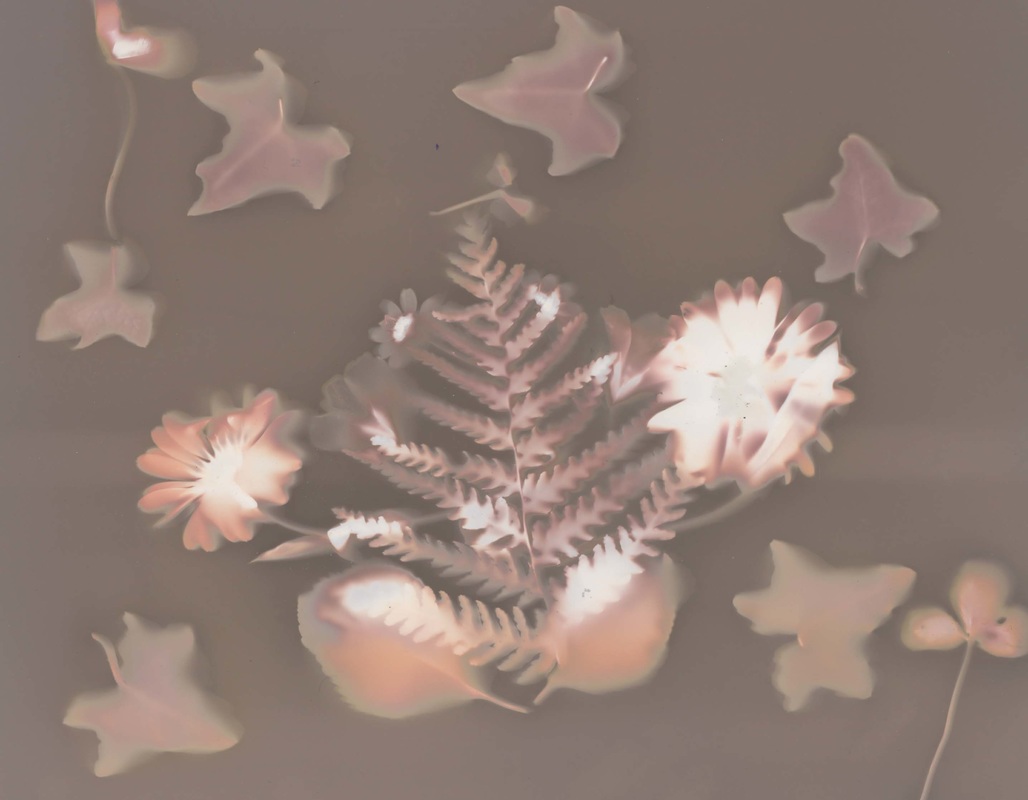
Lumin Printing, step by step guide:
1) Firstly Gather your items (try to use plants or other organic material as it reacts better with the paper you're using) remember these objects will be compressed so choose items that are mostly flat.
2) Before you place your items on the photo paper take your objects and paper to a room that doesn't illuminate light; A dark room would be the best option for this. Then simply arrange your items to how you prefer.
3) Still in the dark room, get your clip frame prepared; now you can use a fairly cheap one it won't have much different effect than if you use an old or more expensive one just make sure if using an old one it isn't damaged. Then place your paper carefully onto the clip frame keeping your illustration together and compress your image down with the glass and secure with clips.
4) It's now safe to exit the dark room with your piece and take it preferably outside into direct sunlight or into a UV light and expose for at least 30 minutes.
5) After the 30 minutes get your illustration and remove it from the clip frame, remove the items from the paper and fix the image using the fixing chemical for at least 5 minutes.
6) Now rinse your illustration in water and it is complete! if you are wanting to upload it to your computer you will need a scanner preferably a negative scanner but any scanner will do.
Photograms
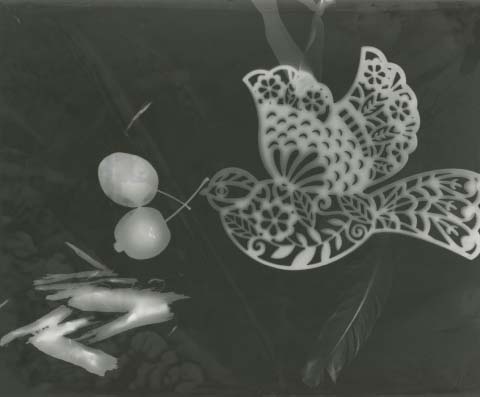
Photogram, step by step guide:
1) firstly gather your objects together ( any object will work with this)
2) You will need to be in a dark room for the rest of the steps. Once in there place your photo paper onto the enlarger and place your objects down on the photo paper how you prefer.
3) when your ready prepare a timer for 1 minute (this will help you later) now you need to keep the light on the paper and objects for 10 seconds then switch off and remove your objects from the paper and quickly put into the developer now set your timer off that you prepared earlier
4) once the 1 minute is up get the tongs and gently lift up your image; try to pick the image up form the corners it helps it drain better.
5) Once drained place it into the stop bath; make sure the tongs you used to take it from the developer don't touch the stop bath you should be using different tongs for each chemical. it needs to be in the stop bath for 30 seconds you can count or use a timer for this. Just swivel the box around to make sure it goes all over the paper, Don't spill any!!
6) Now use a different pair of tongs to the ones before to take out the image and place it into the fix; it needs to be in here for 2 minutes so while your waiting just do the same as before and swirl the water around
7) Take it out and put it in a tub filled with water and turn a tap on to let it rinse for a while and leave it. The image will take 5-10 minutes after that it should be
complete.
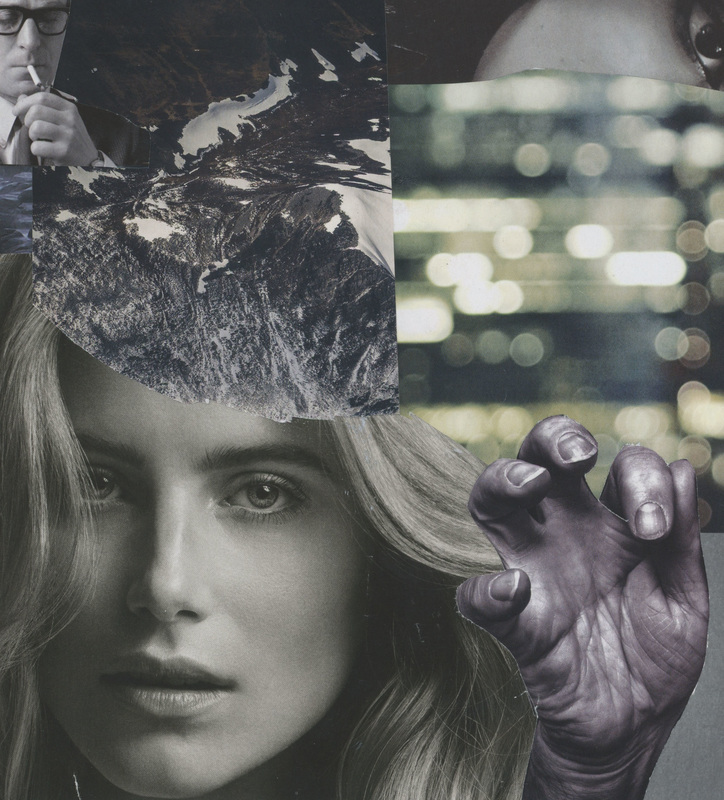
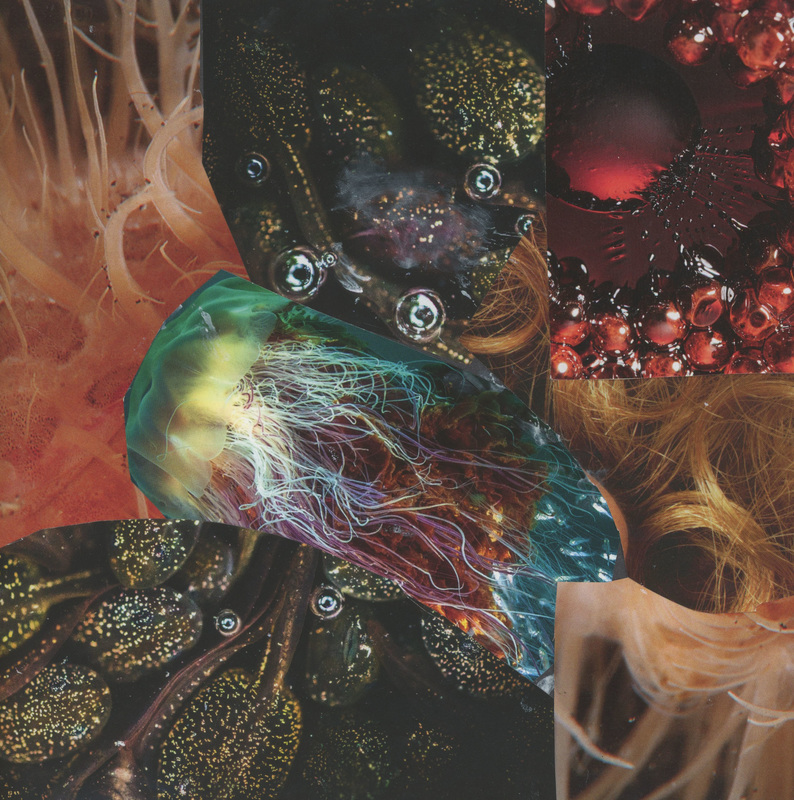
Montages
Tone
Tone is created by the mixture of light and dark, creating contrasting shadows and depth to the image which also creates atmosphere.
Tone is created by the mixture of light and dark, creating contrasting shadows and depth to the image which also creates atmosphere.
Shape and form
Shape and form in photography shows the range of shapes in our world and what we can capture. By focusing on form you can also create abstract geometric shapes.
Shape and form in photography shows the range of shapes in our world and what we can capture. By focusing on form you can also create abstract geometric shapes.
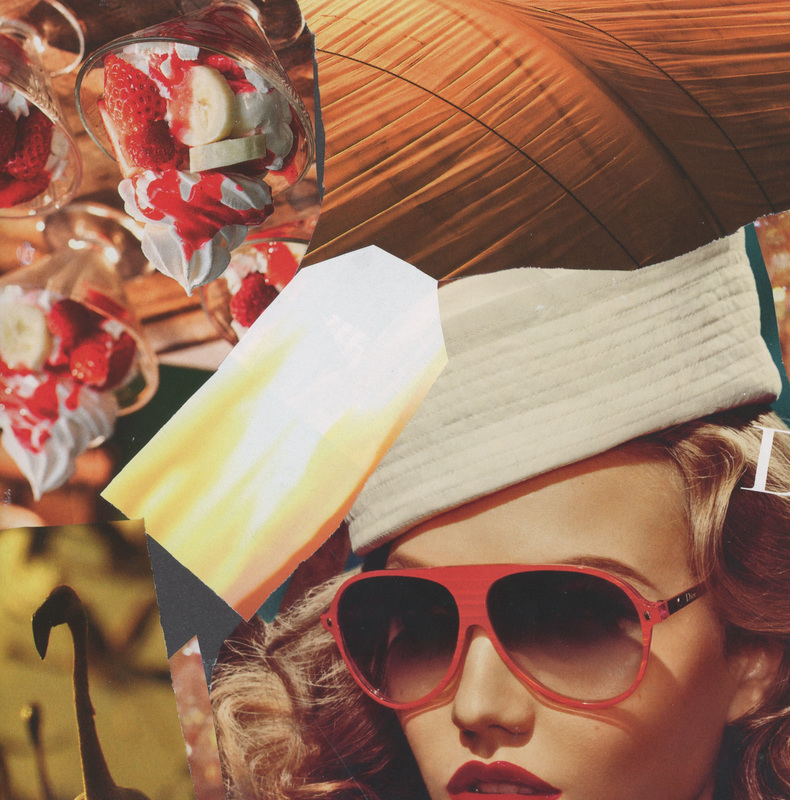
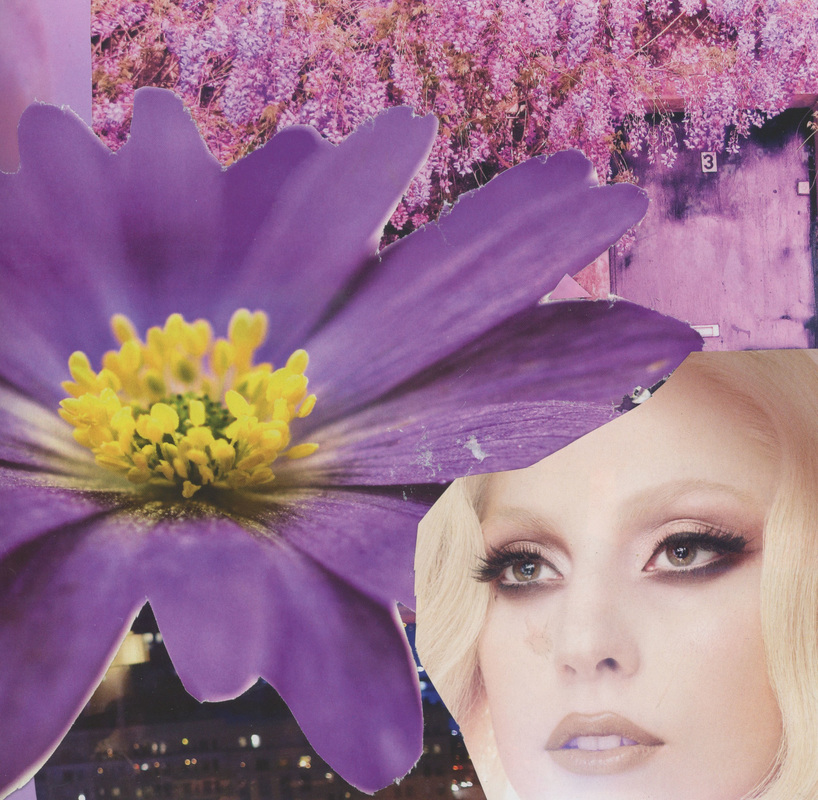
Colour
Colour in photography emphasises reality and is more aesthetically pleasing to most.
Colour in photography emphasises reality and is more aesthetically pleasing to most.

Lines
You can use any kind of lines in this type of photography, a bridge, fencing or building structure. It can stand out and shows the depth of the whole image. It can also be used to frame a subject or draw attention to it.
You can use any kind of lines in this type of photography, a bridge, fencing or building structure. It can stand out and shows the depth of the whole image. It can also be used to frame a subject or draw attention to it.
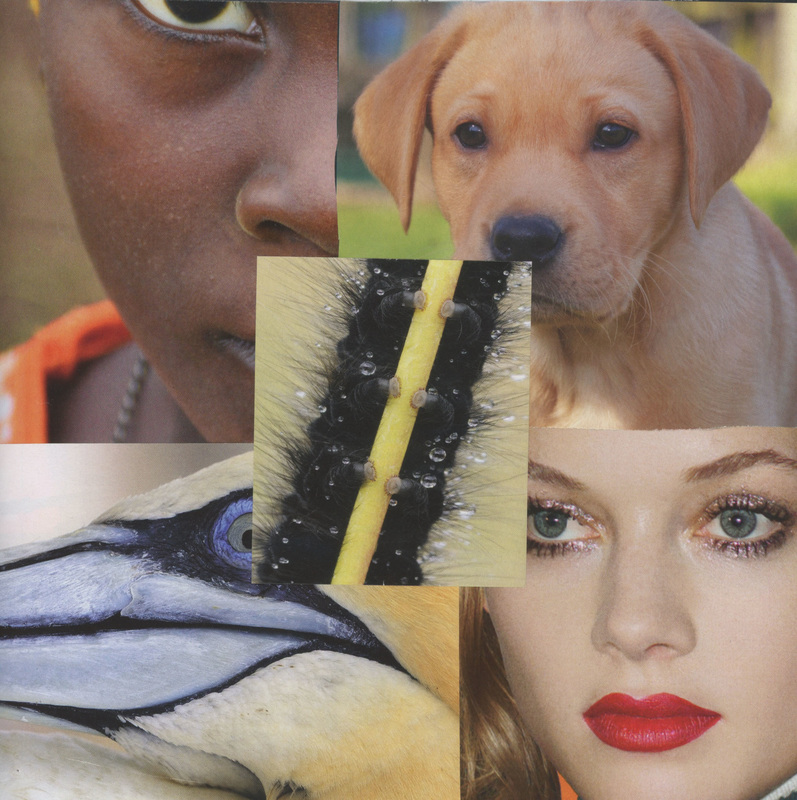
Cropping
Cropping is similar to close up photography; by taking an image and finding where the main section that stands out and cropping so the image is now focusing on the subject.
Cropping is similar to close up photography; by taking an image and finding where the main section that stands out and cropping so the image is now focusing on the subject.
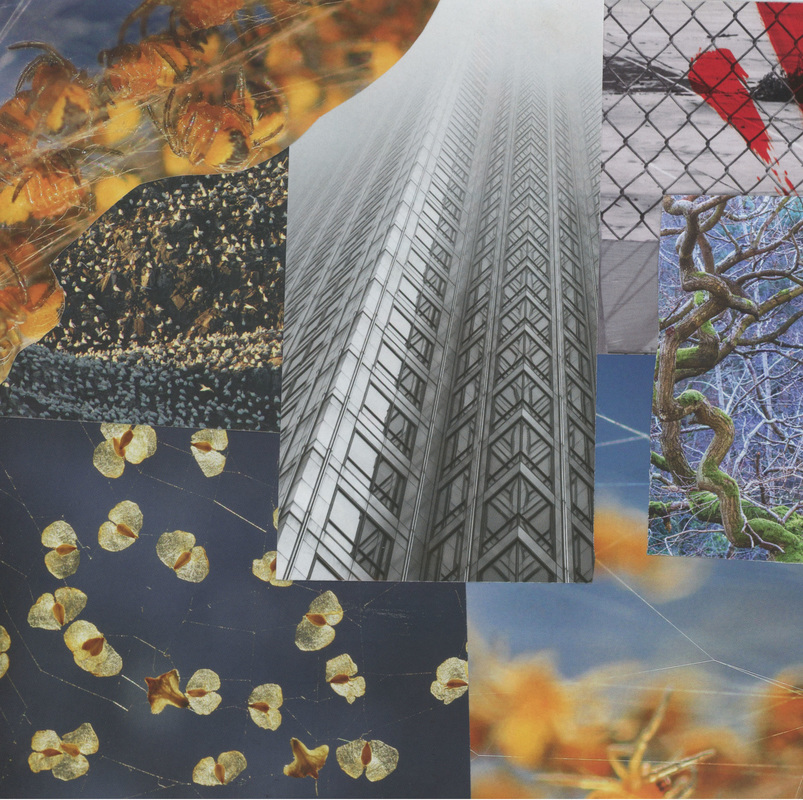
Pattern
Pattern in design or photography creates a rythm in the image can create interesting and abstract compsositions.
Pattern in design or photography creates a rythm in the image can create interesting and abstract compsositions.
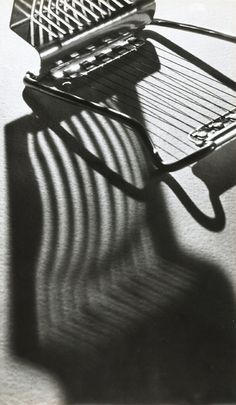
Andre Kertesz
|

|
These are two example of Andre Kertesz's still life photography, he takes everyday objects and positions them so they cast a shadow. He chooses objects with a interesting shadow like the egg slicer with holes. That this is old school photography they are naturally developed; which I think gives a lovely black and white tone.
My interpretation:


These six photos are my representation of Andrew Kertesz's work. I too began by collecting everyday objects that would reflect peculiar shadows onto the background. I used some white paper for the background as I thought it would present the shadows better. Instead of using studio lights I found a simple torch light from a phone to project the amount of light I needed. Moving the phone around to get different aspects of light I took the photos and put them on photoshop to experiment with filters; I used a vintage filter instead of a black and white to put my own touch on still life photography. I personally think it was a success; tone of the vintage gives it the perfect tone and character.
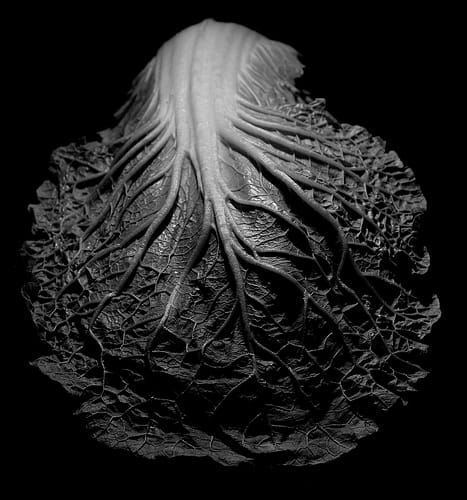
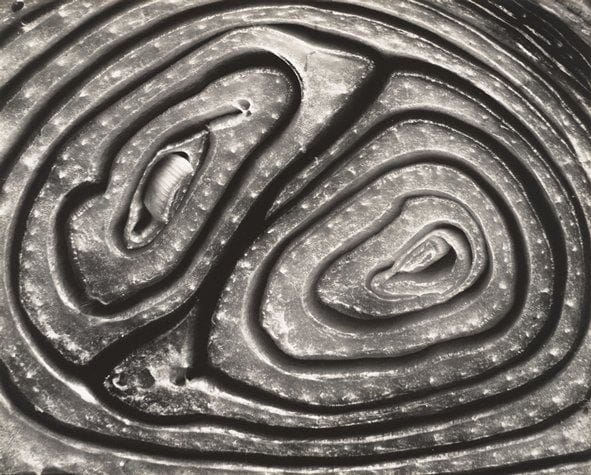
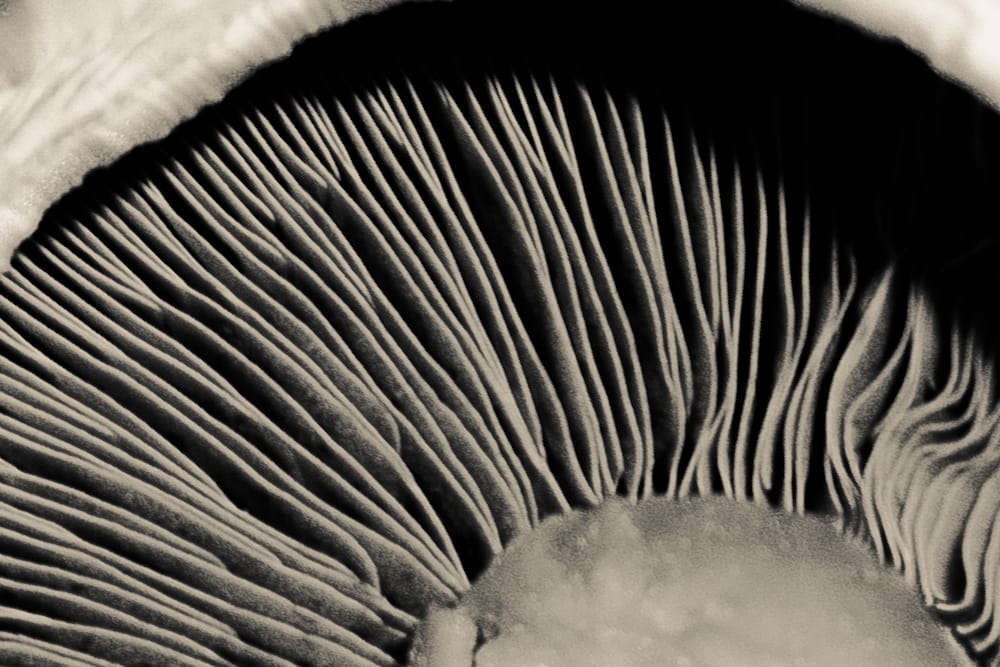
Edward Weston
|
|
|
Edward Weston's work focuses on still life. He captures the details in objects we often overlook. Here he is focusing on a natural form; vegetables. He seems to pick out objects with interesting patterns and shapes, however not all are naturally that interesting on the outside so he improvises by discecting the object such as with the photograph of the onion, by doing this he reveals the character and inner depth of the object. The plain black background is a great technique to make the subject stand out; It also creates a dramatic lighting to make the object's unoticable details stand out. Another technique he uses is cropping; it gives us a deeper insight into the subjects texture and inner beauty. I like and enjoy observing his work because it crosses over to slightly abstract by taking an object and capturing the beauty and details of an everyday object we often overlook.
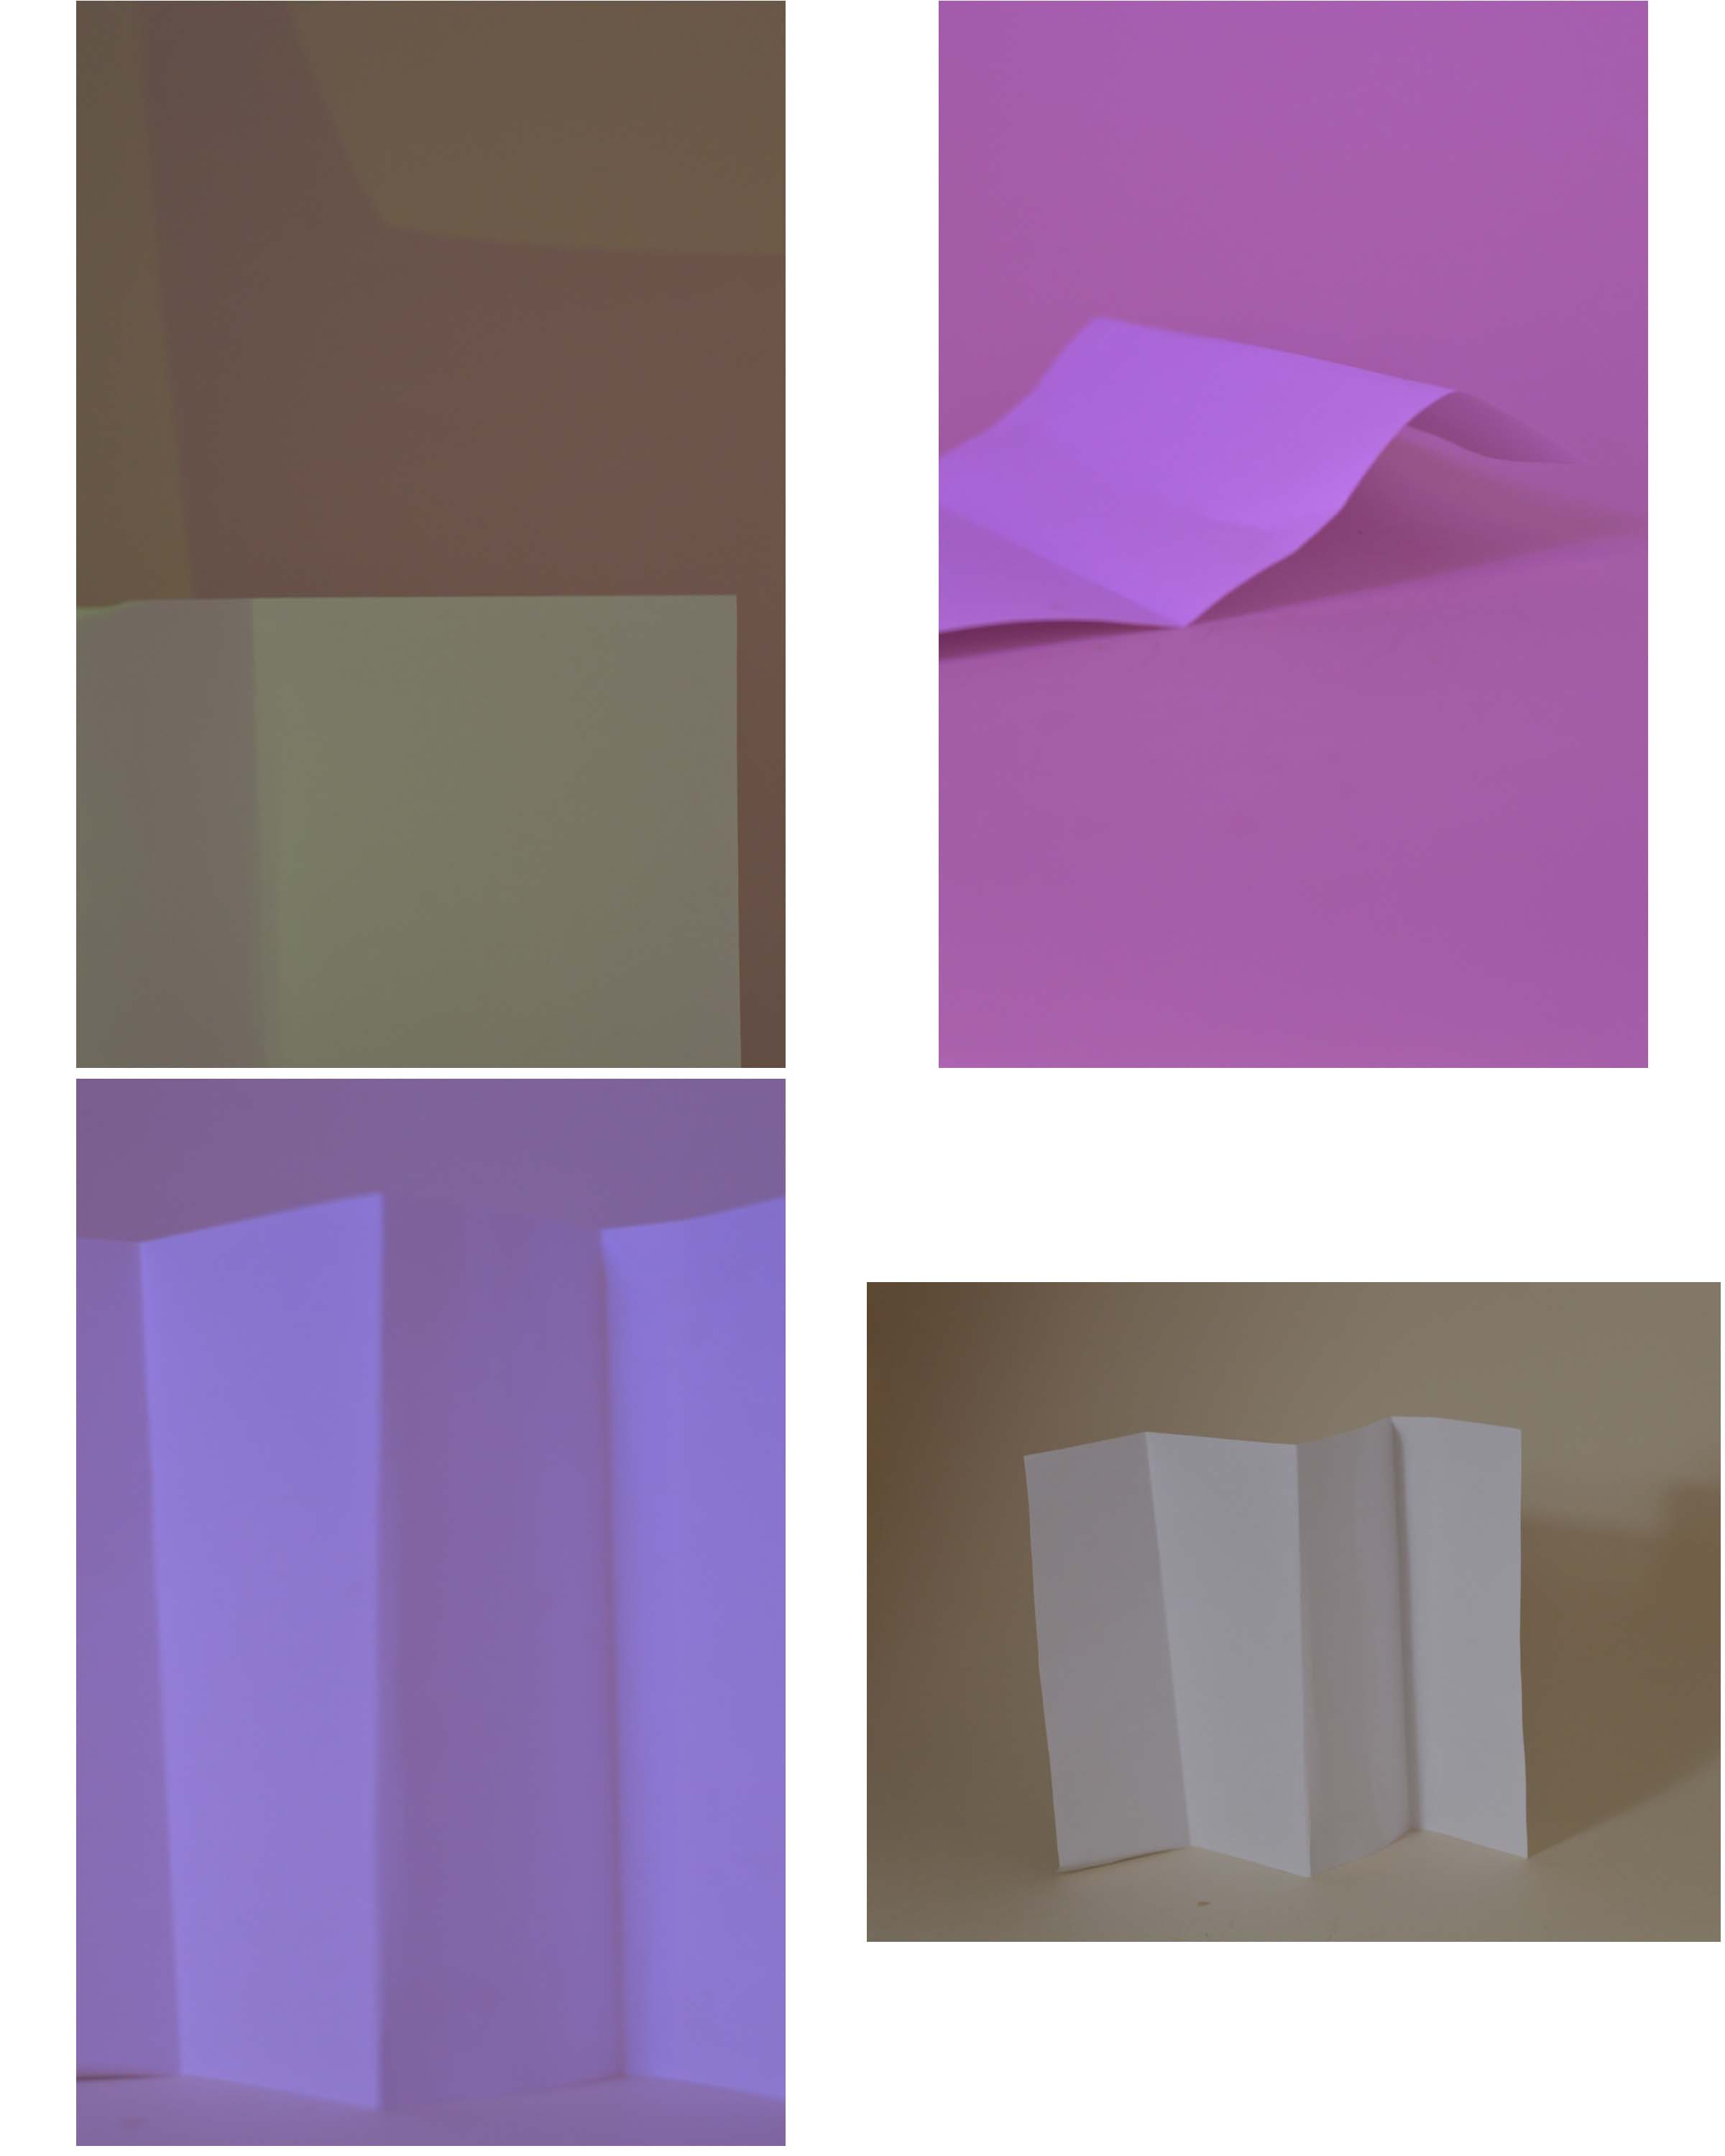
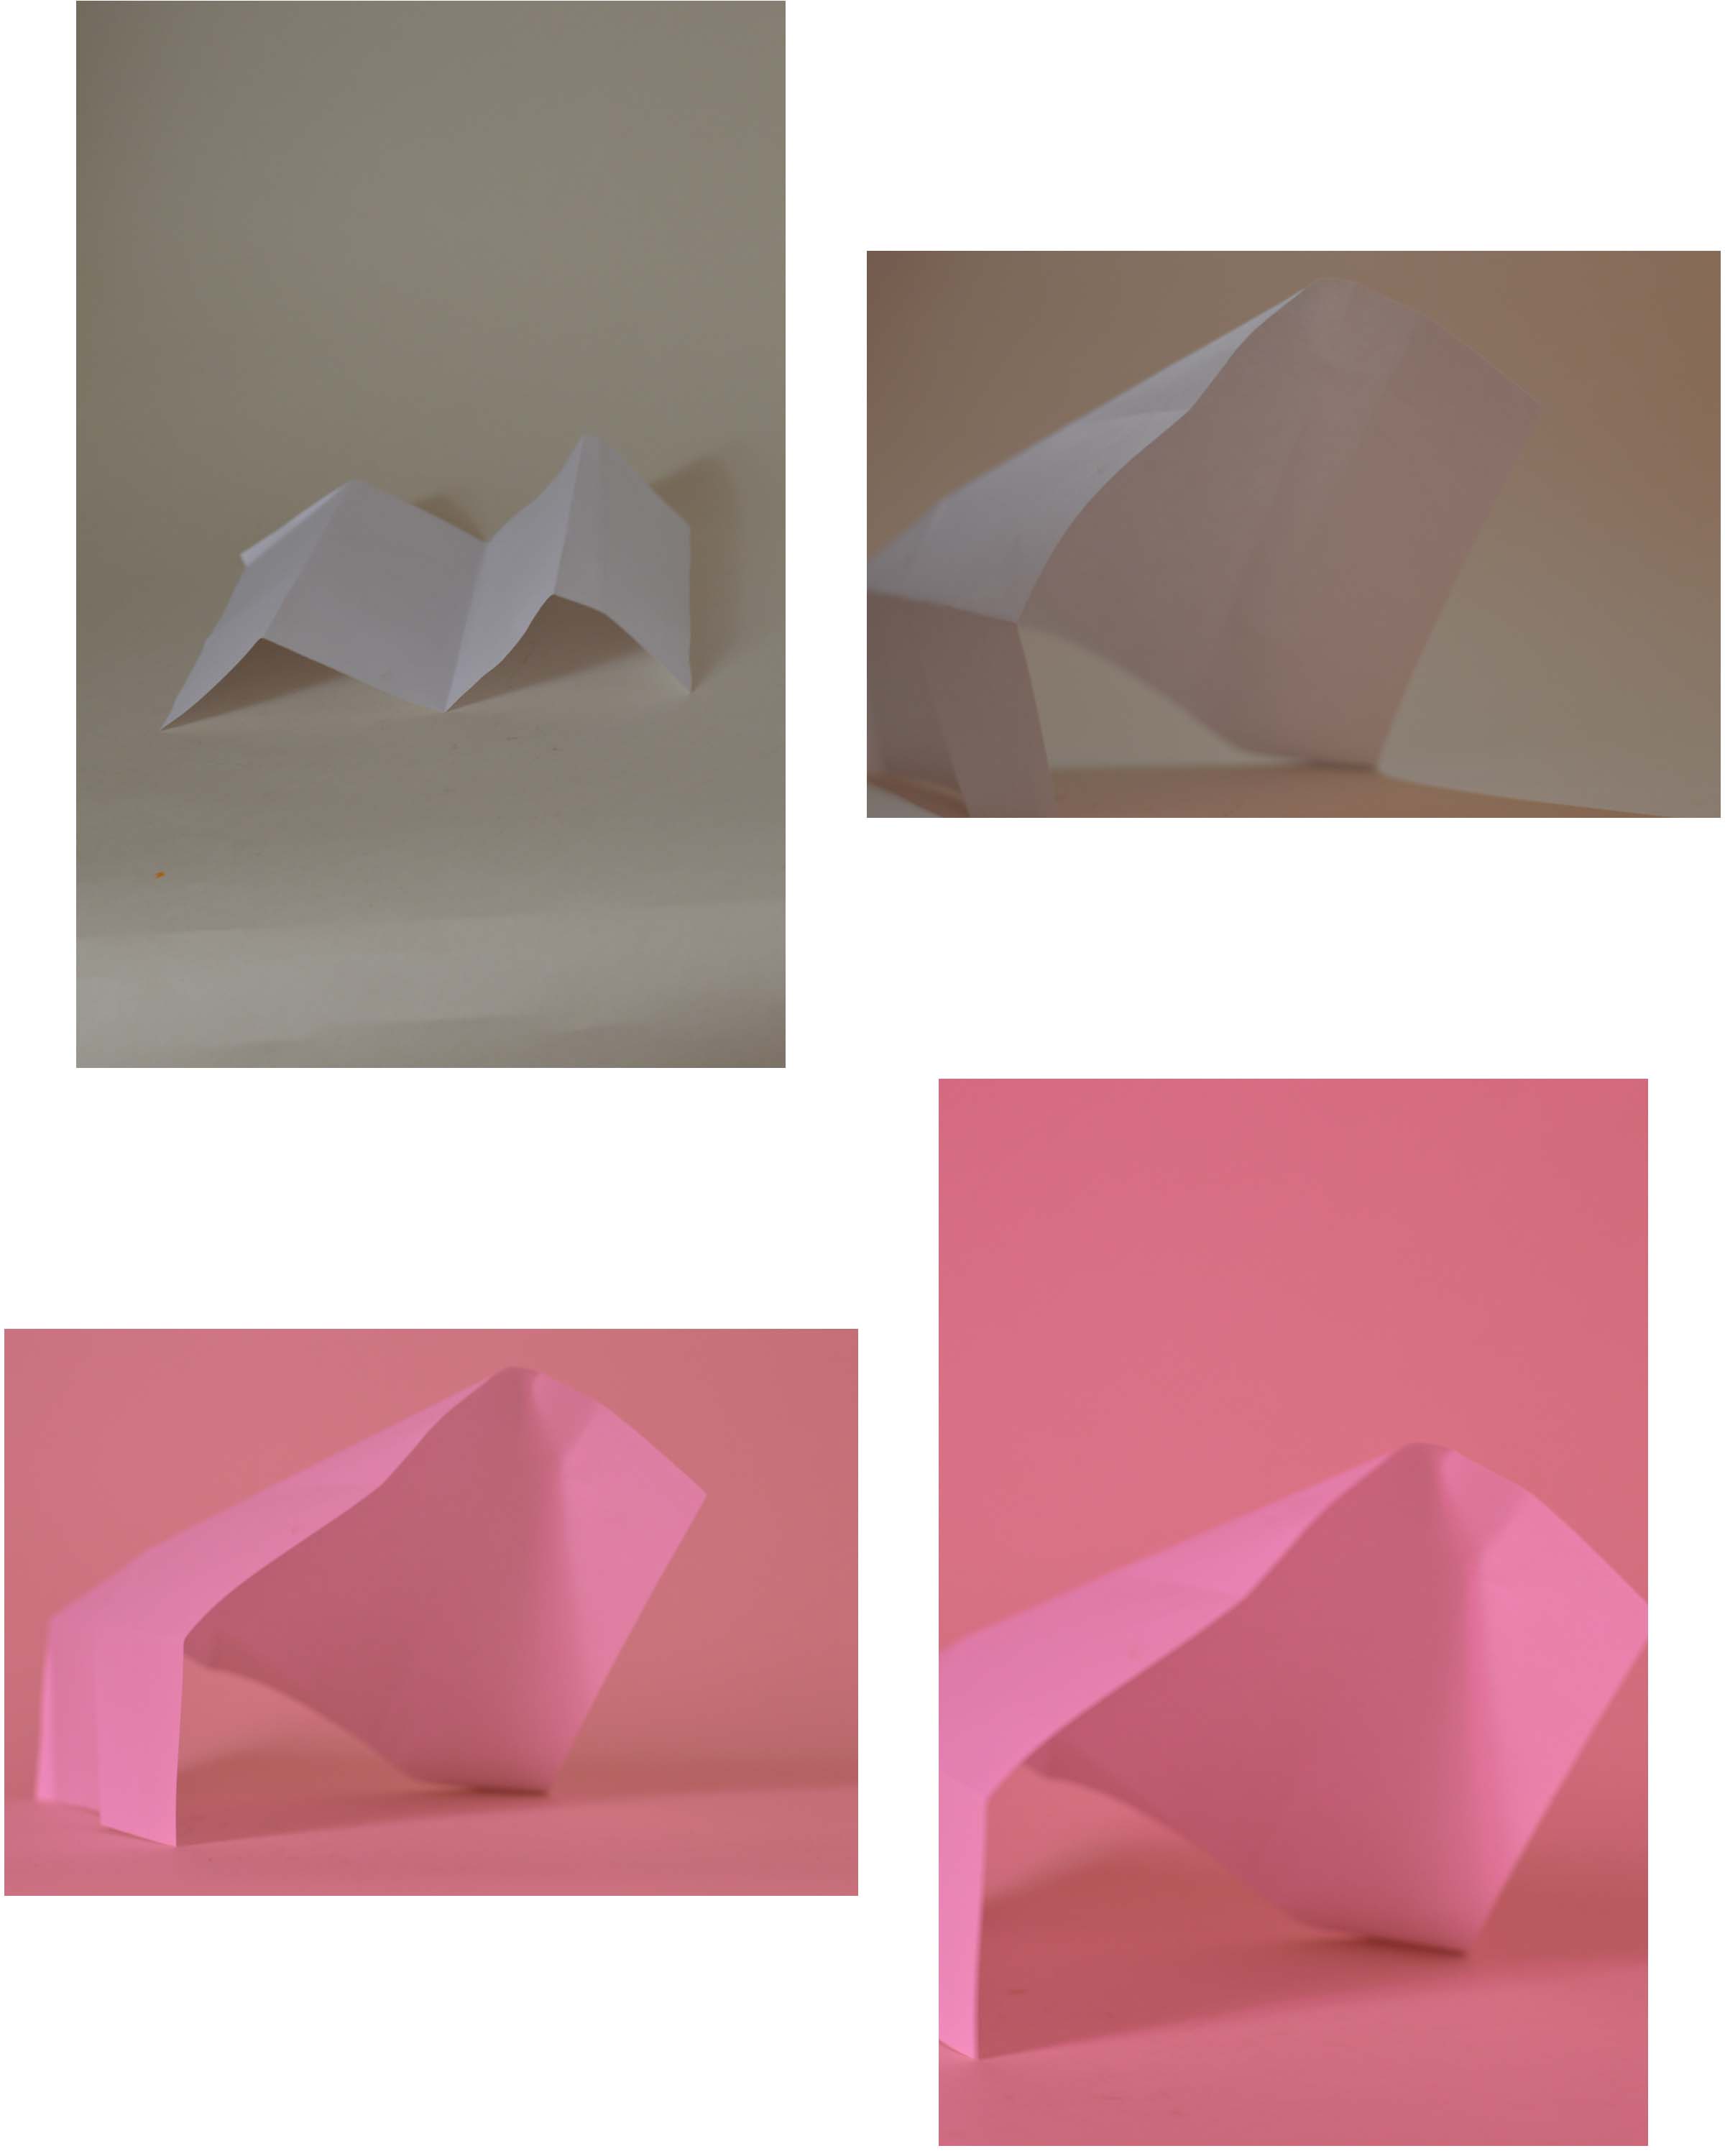
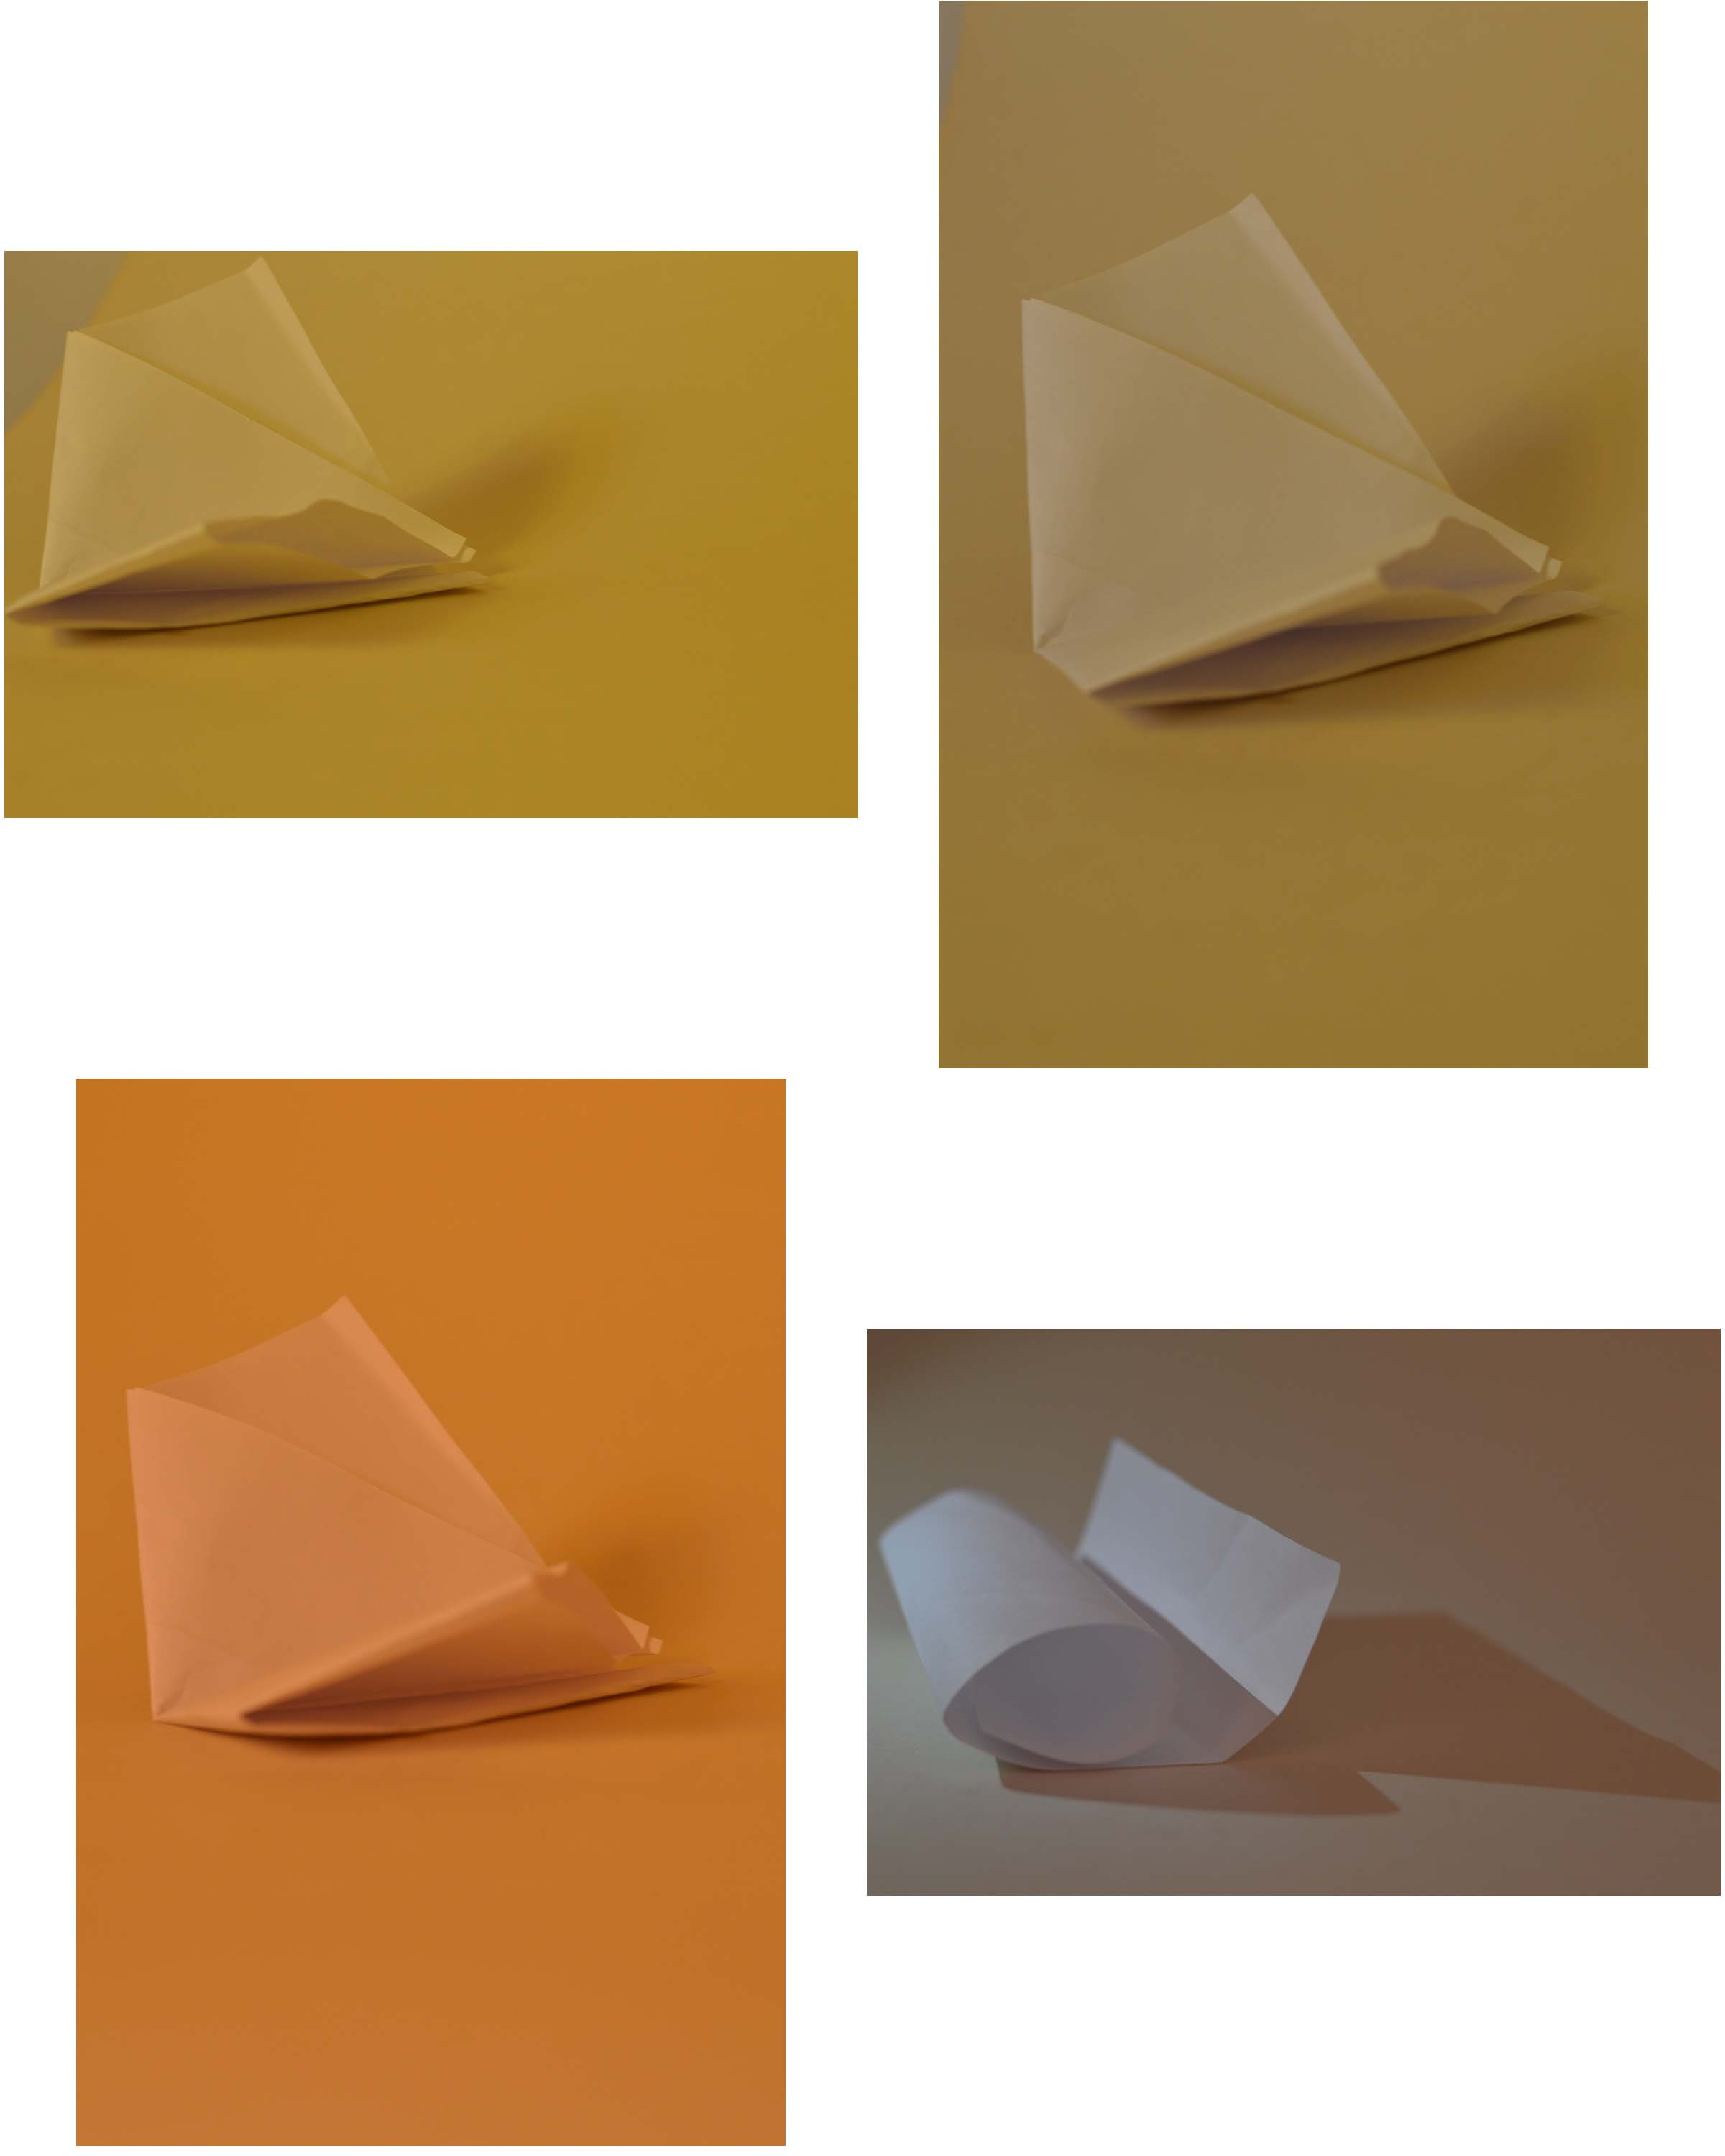
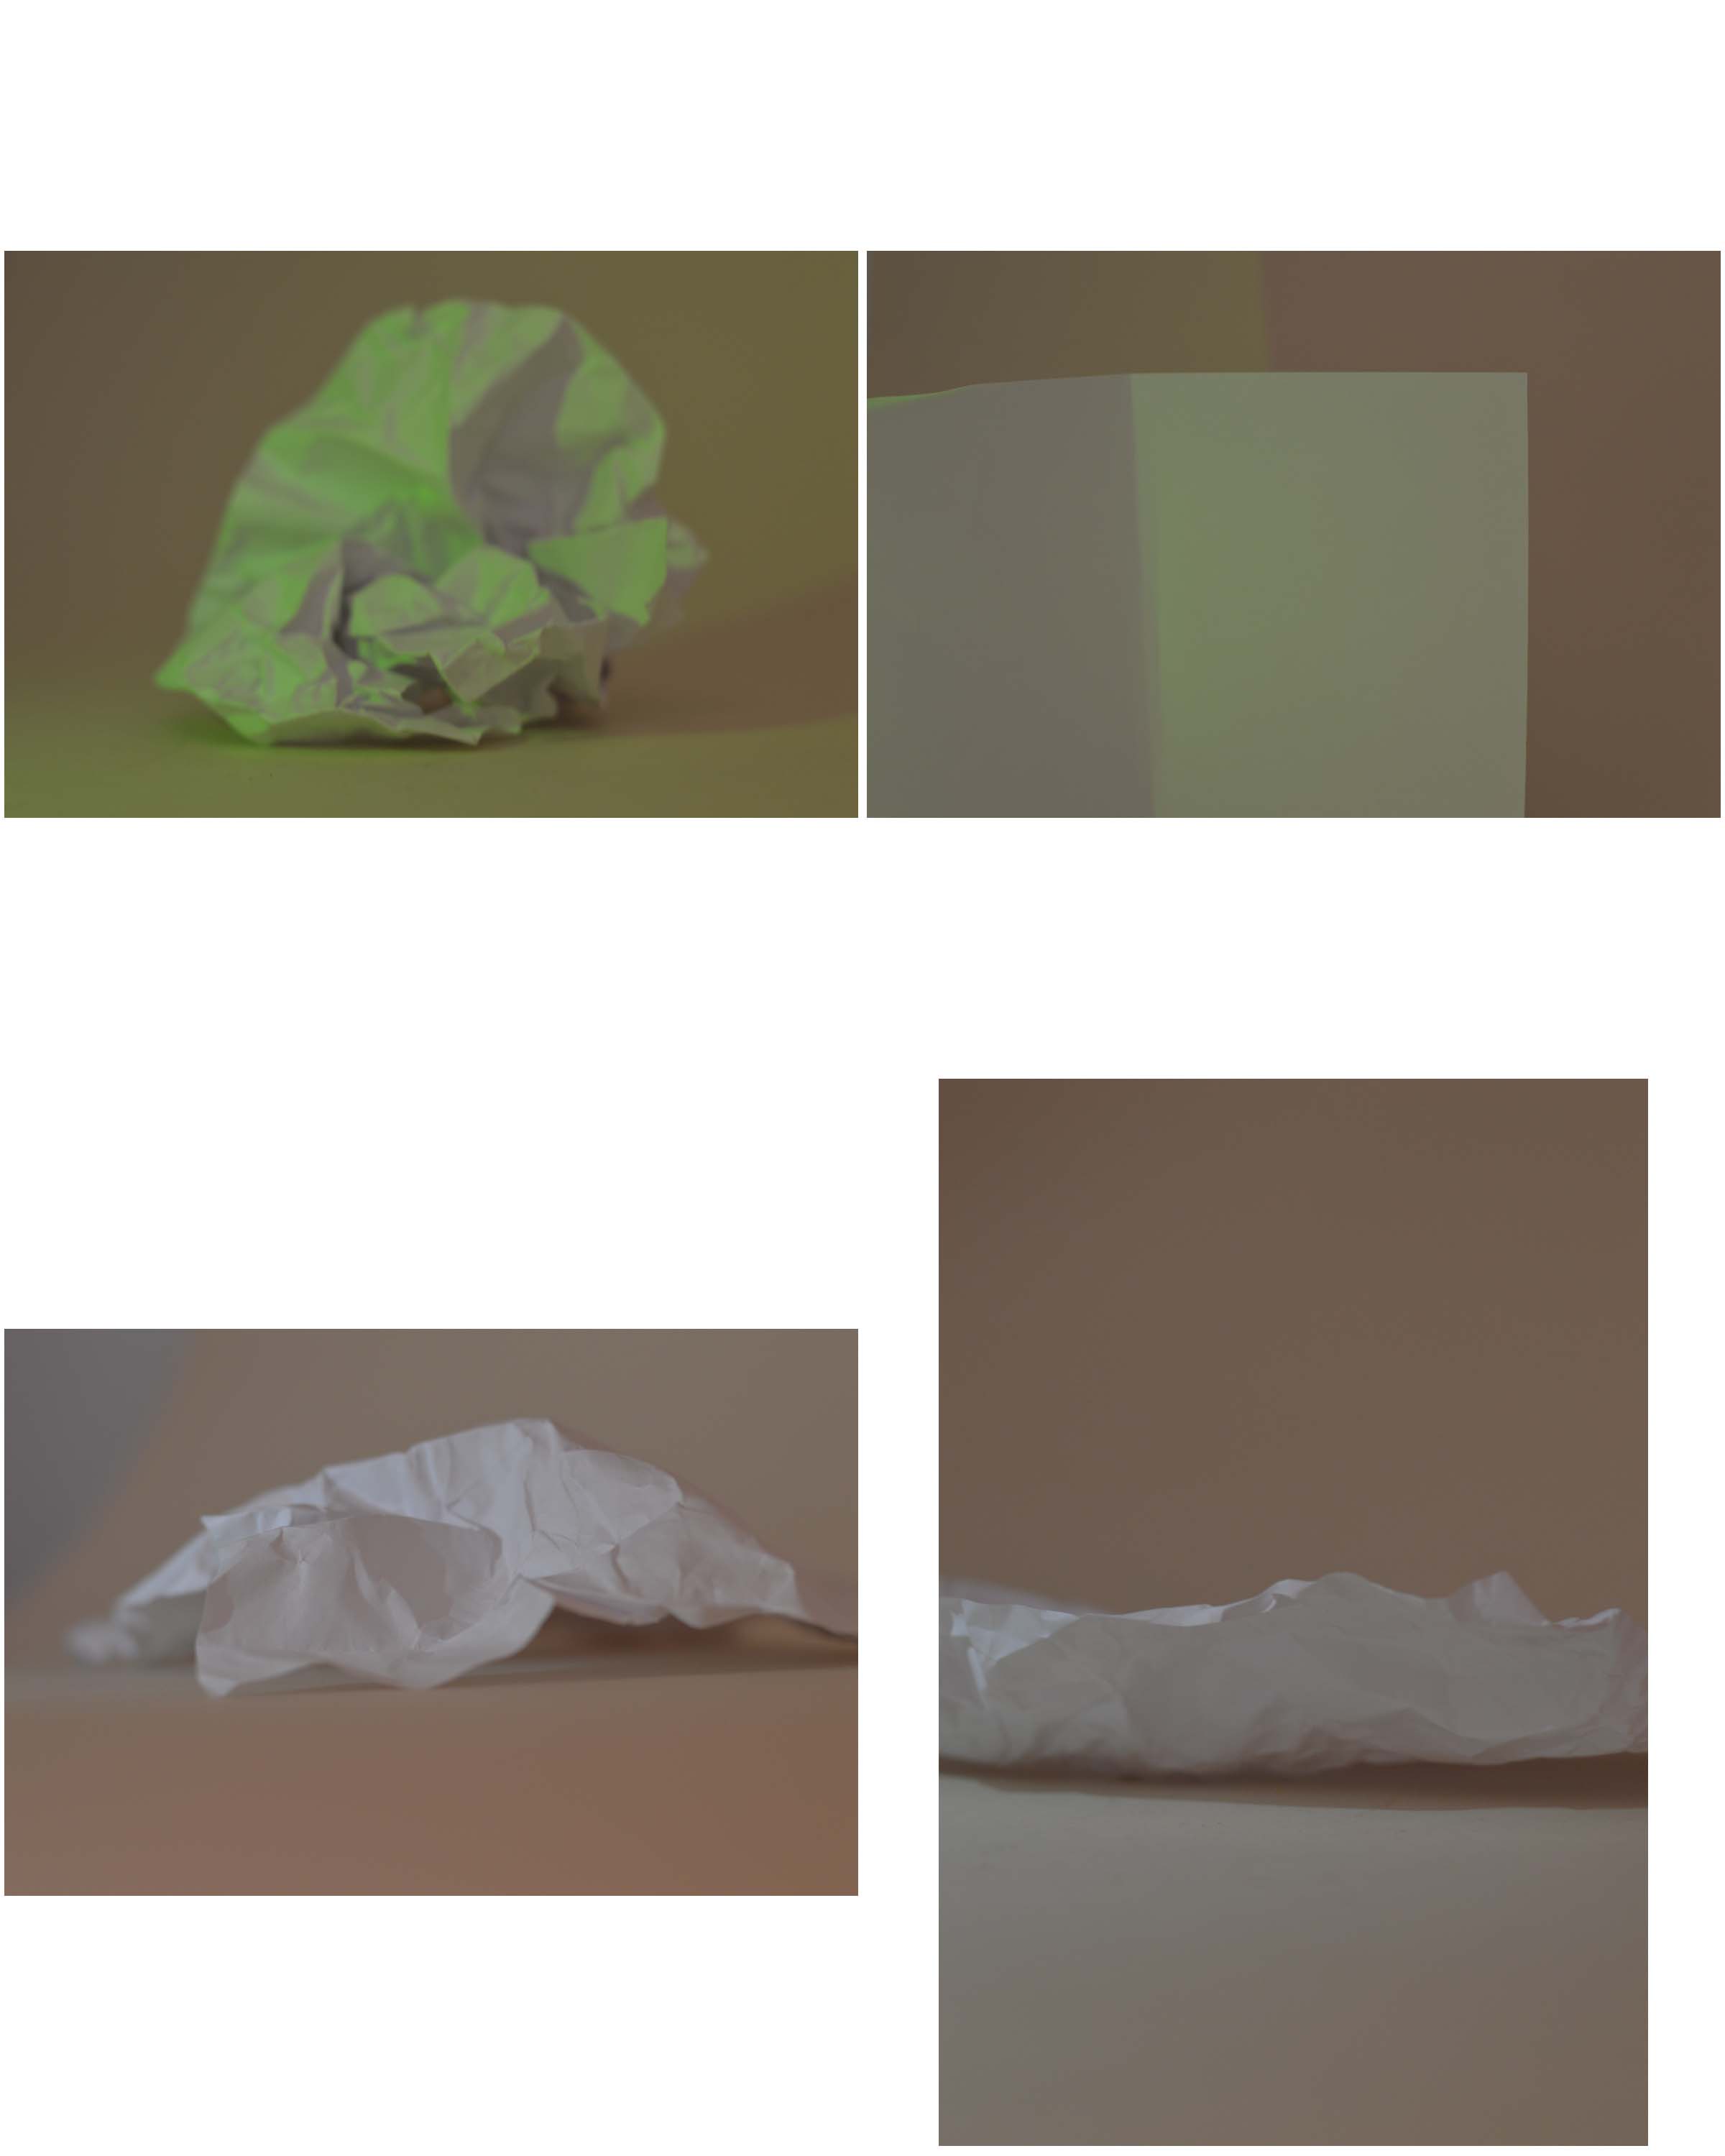
My interpretation:


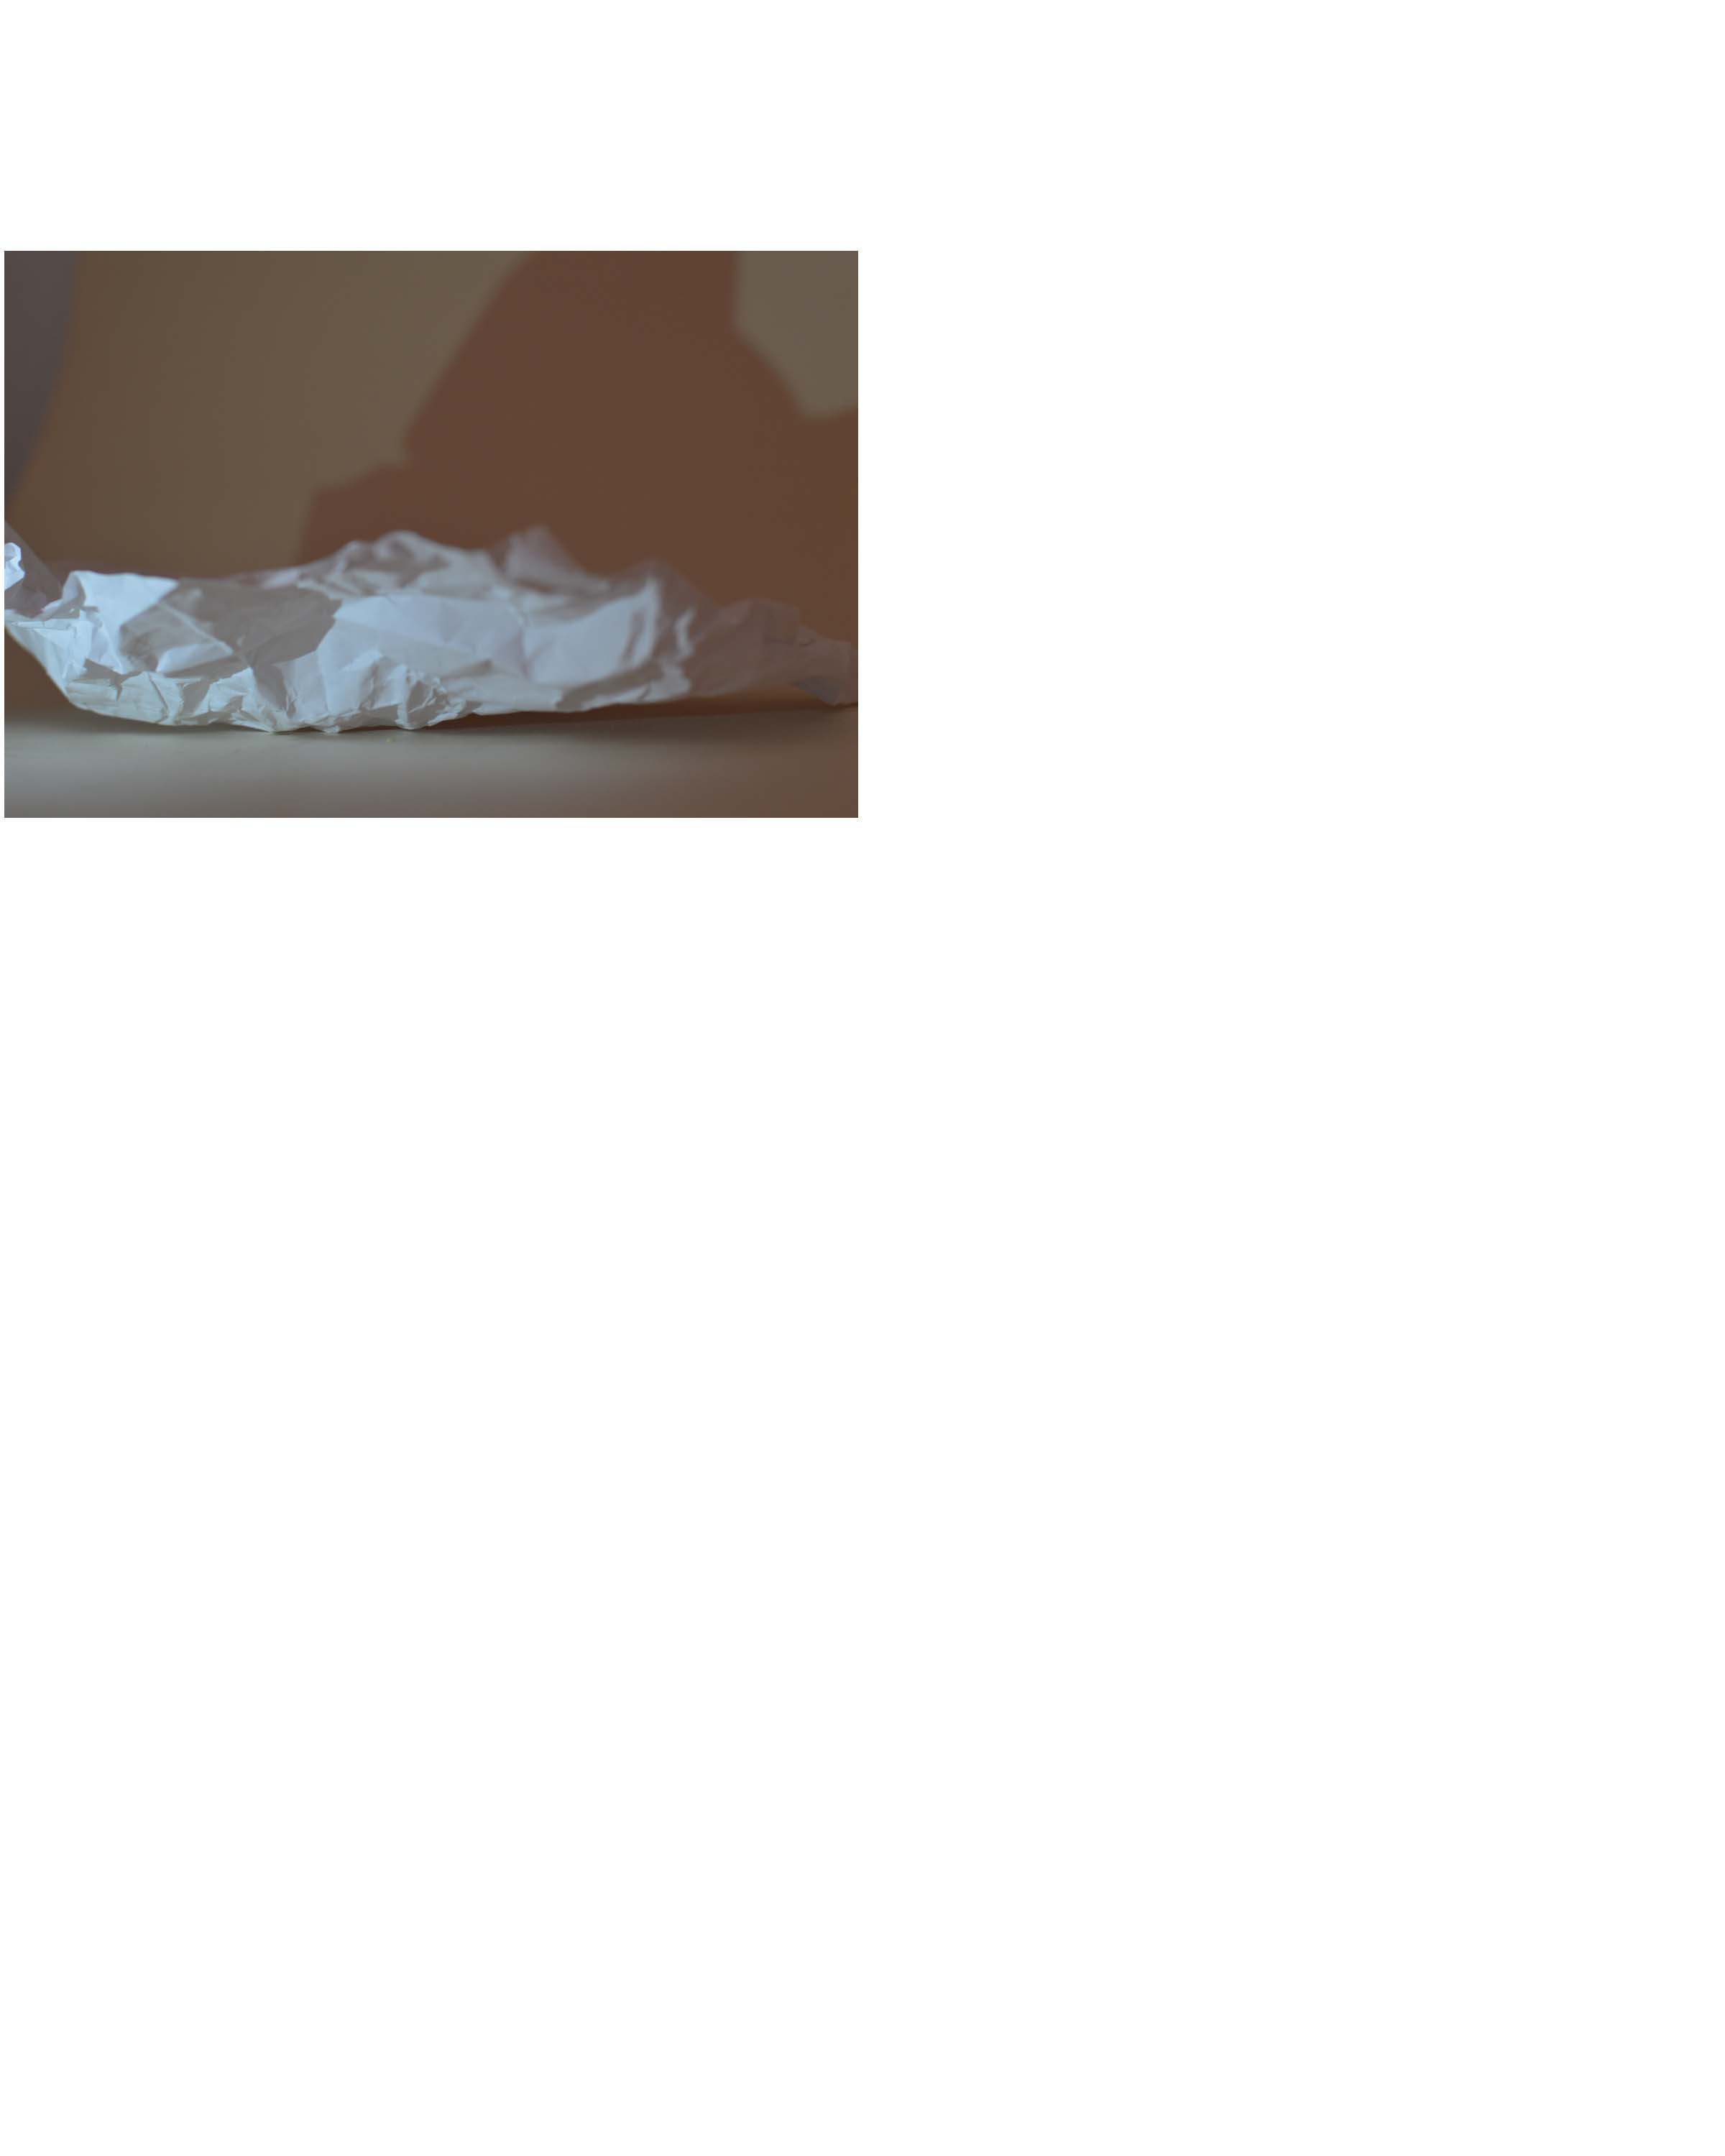
White paper test